I was able to get a little painting done today. This is just the base coat. I gave the tank an overall coat of straight Tamiya Field Grey XF65, then sprayed JSDF Brown on the lower half of the tank. Finally I finished off with a light coat of Buff XF57. I'm basically copying Steve Zaloga's BT-7A paint job from his Barbarosa 1941 diorama. I'm following his article in Military Modelling Vol 35, No 13 like it was a recipe.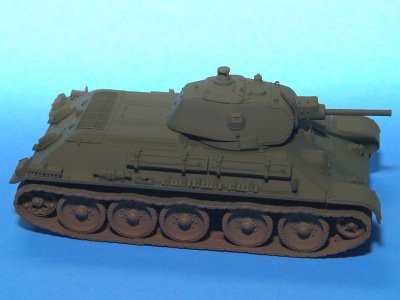

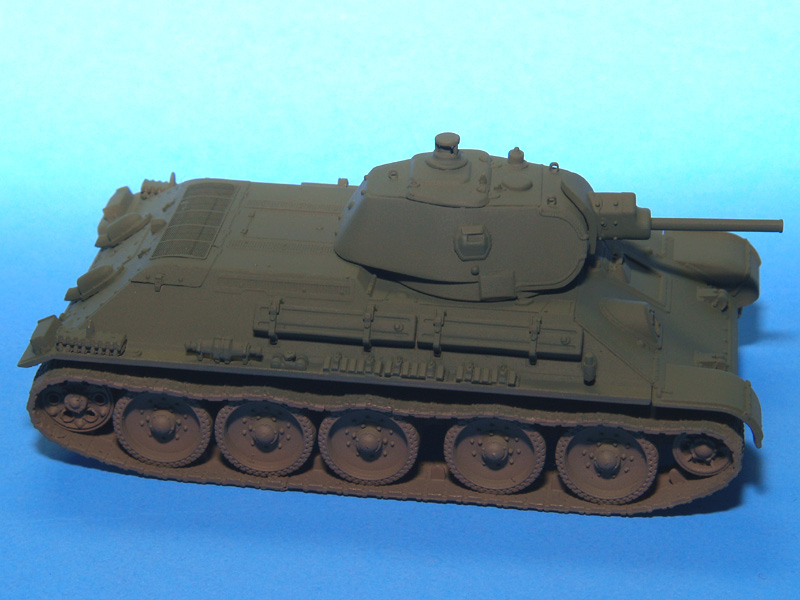
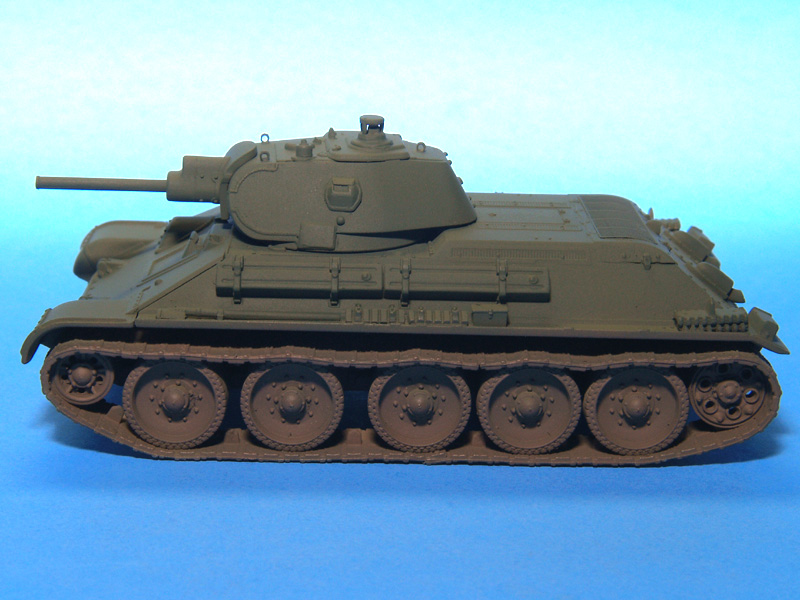
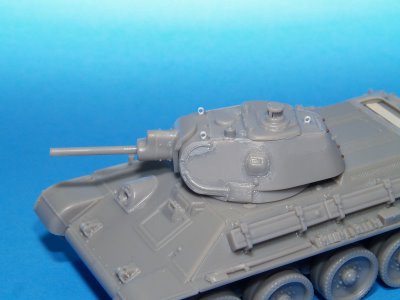
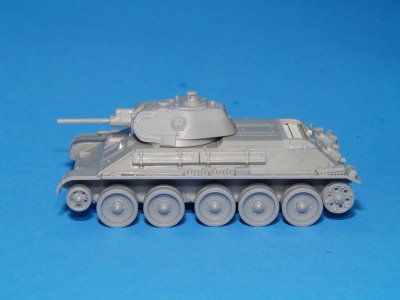
Ok I think I've got everything done assembly wise. I've added the lift hooks to the turret; I used .02 x .04 evergreen strip to make them. I also added a little subtle [hopefully] texture to the weld beads. I just hit them with a little liquid cement, then added texture to the softened plastic using a tiny screw driver. I also noticed that I had somehow broken off the optical sight from the turret roof. Not to worry though, as the model 1941 kit I borrowed the tracks from also donated the optical sight...and as an added bonus the sight has the cover removed. Next comes the painting.

I've decided to just go a head and build this model "out of the box." Well at least as out of the box as I can stand to build it. I haven't seen too many people actually build this kit, but I've seen a lot of posts as to it's fit and finish. Over all I'm very happy with the kit. While it's far from perfect, there is a real "diamond in the rough" here. There is a lot of detail, some of it simplified or slightly out of scale, but the detail is there.
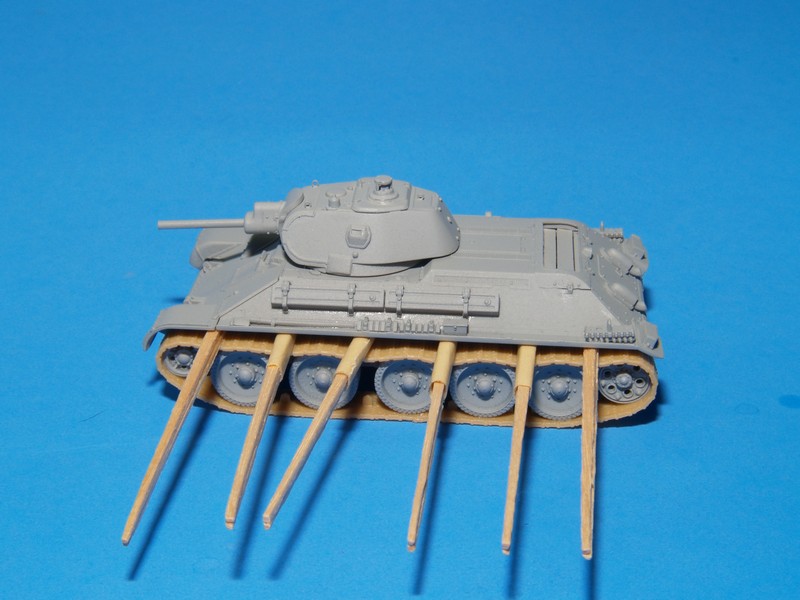
I've attached nearly all of the kit parts prior to starting painting. The only thing I left off is the bow machine gun, and head lights, both would likely be broken off during painting. I've drilled out the the lightening holes in the return rollers, and drive rollers.
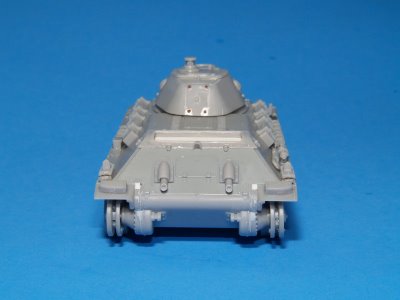
Dragon made a minor mistake on the spare fuel cells on the side of the tank. All four fuel cells are molded identically, rather than making two sets of mirror imaged fuel cells. You can tell buy the straps that would attach the fuel cells to the side of the tank. Dragon would have you put right side on upside down, but that makes the straps look wrong to my eye. Anyway, I didn't catch it till too late, and ended up installing the right side straps too far forward. I doubt anyone will really notice anyway, but I would have prefered to sand the the straps off and put more delicate ones.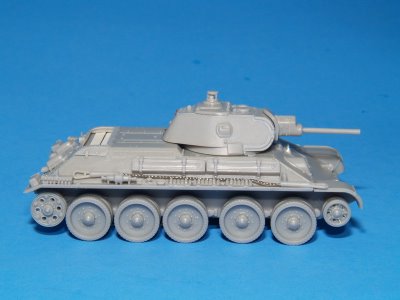
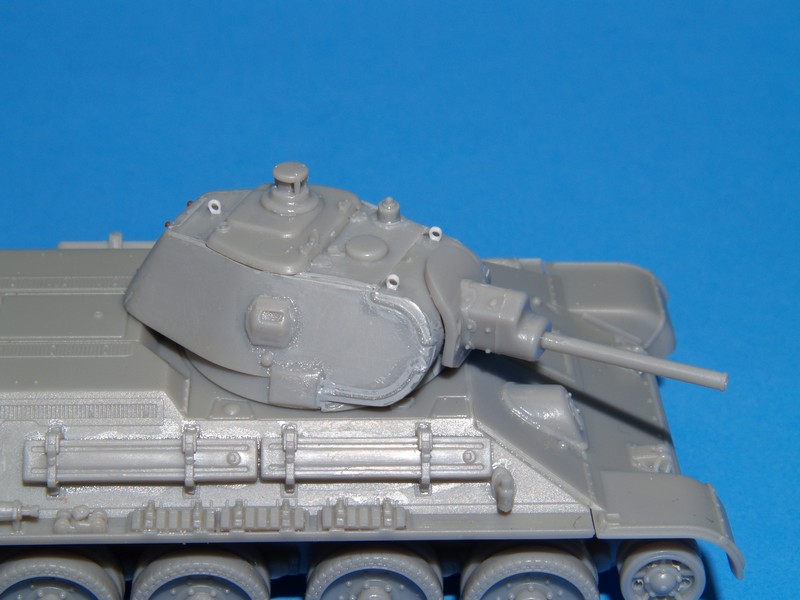
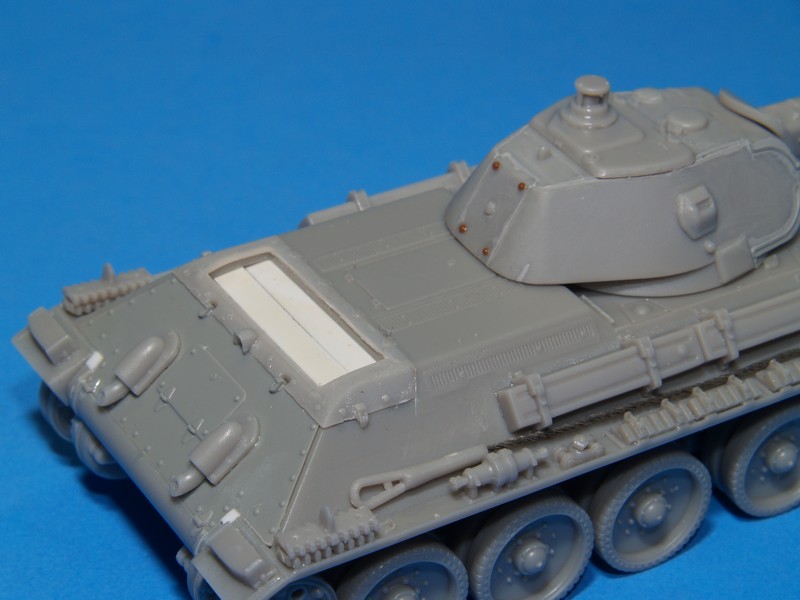
 Here you can see I had to add rivet detail to the back of the turret. The detail was originally there, but I sanded it off trying to get a better fit to the rear turret armor plate. I also added small pieces of evergreen styrene (.02 x .04) to fill in a gap by the rear fenders and upper hull glacis. I used the glacis from the T-34 model 1941 rather than scribing the engine acess hatch into the glacis from the one included in the kit. Sure it was easy to scribe the hatch myself, but I was going to steal the DS tracks from the model 1941 kit anyway. I was planning on ordering some ACE or OKB photo etch tracks, butit turns out that it's a lot cheeper to buy another T-34 model 1941! I tried going the Dragon cares route, they care, they just sent me another set of theblack vinyl tracks to replace the twisted unuseable ones included in the kit. I'll jut use them on the UM T-34 1940 L-11 cast turret.
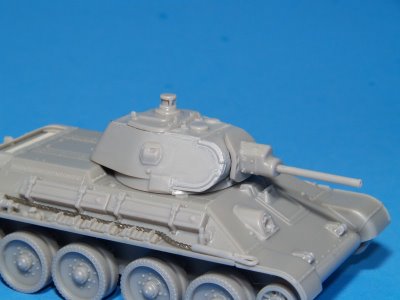
 Here you can see the weld bead detail that I added to the turret. The real welded turret of a T-34 model 1940 has a nice neat raised weld bead visible where the side plates are welded to the front armor plate. Dragon has molded the turret accurately, but doesn't give you the weld bead. Dragon also includes a nice tow cable. The included metal cable just needs to be twisted a little tighter between you fingers to give it a good look.
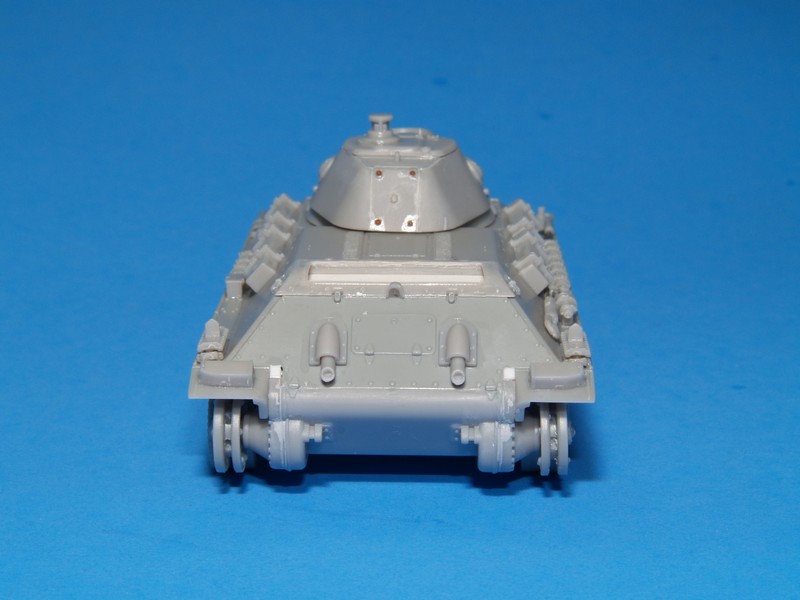
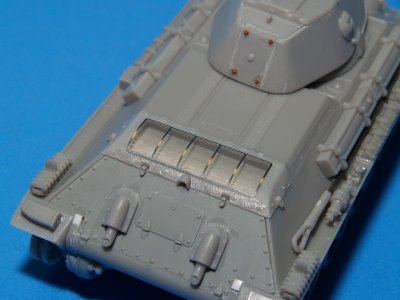
 I also added the two louvers, made from some evergreen strip, to the engine intake. You need something there, otherwise you'll be looking into a big hole if you use the photoetched screen.
 ...and speaking of that screen, here is proof that it actually fits. I'm not sure how Dragon wants you to install it. They've molded a nice lip on the underside of the plastic part which the screen fits into nicely. Unfortunately, it looks terrible that way because Dragon included a raised lip on the top of the plastic part, making the screen look too recessed. On the other hand, if you install the screen on to of the plastic part you still have to deal with the raised lip molded on the top of the kit part. My solution was relatively simple. Sand off the raised lip on the top of the plastic part, and trim the lip off the underside of the plastic part. Viola the screen fits perfectly!
Sorry again
It's been a while since I posted anything, but I don't have any excuses. I just haven't felt like blogging lately. I haven't done much work on Tiger 100, but the books that I ordered from Avia Press have finally arrived. I've been pouring over the photos, and have found a few things that I have to change, but more on that later.
I've also been working on a few aircraft for this years IPMS DC contests. We're only doing 4 contests again this year. So hopefully I can finish a few things. In the mean time I've been accumulating quite a few kits lately (don't tell the wife I promised her I would keep buying without a little purging also), and decided that I should post some in box previews.
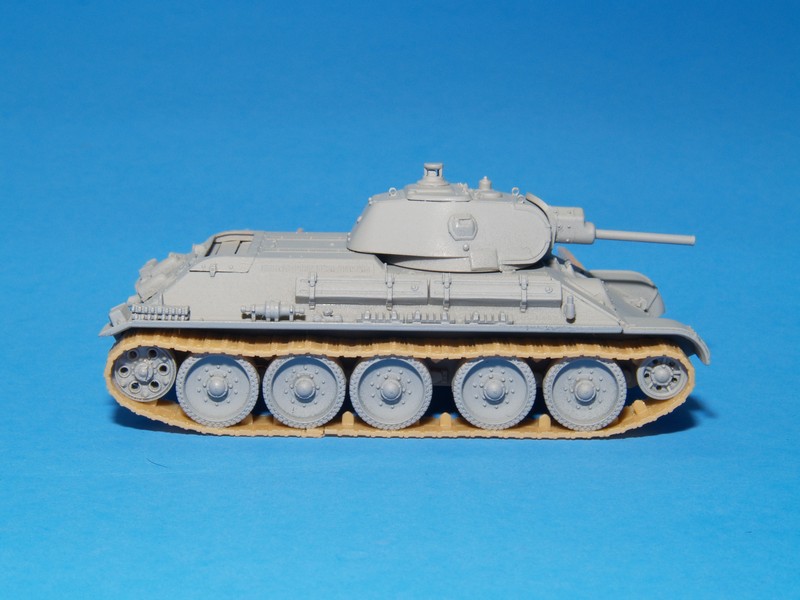
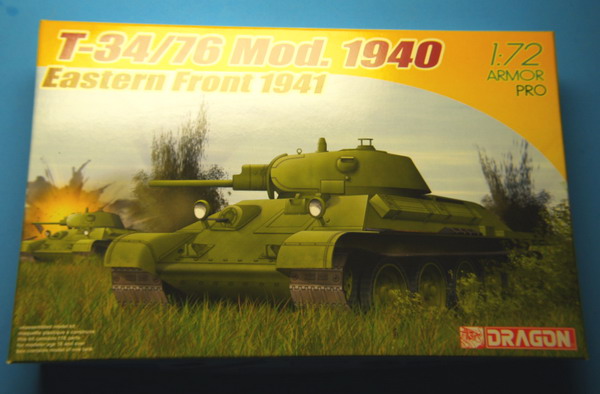
So.....First up is Dragons T-34/76 model 1940. It's a pretty nice kit, but has a few flaws. The box has a nice painting of the T-34 in combat. What's in the box builds into T-34 model 1940 produced by Factory 183, during the winter of 1940-41, at least according to what I can tell using Model Fan Encyclopedia No5 "T-34 Stalin's War-Horse." What makes it a model 1940? As near as I can tell an early style welded turret, L-11 gun, a single large hatch, with commanders sight, riveted hull bow, lateral box type fuel cells, early engine deck, rectangular engine hatch (missing), solid rubber rimmed road wheels, and 1940 plate type tracks.  The lower hull looks pretty good, but the front armor looks a little wavy. Nothing a little Mr Surfacer 500 won't fix though.
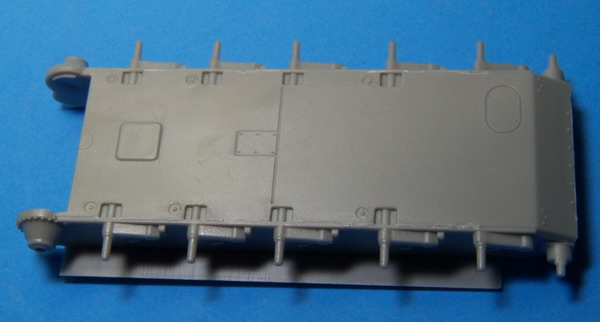
Next the upper hull, also nicely molded. The front fenders have reinforcing straps, which according to my references, will have to go.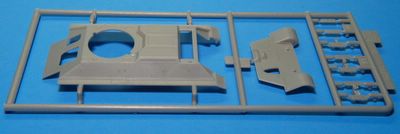 The next tree has the turret and upper hull details. Nice detail, and a minimum of flash. The made a pretty big goof by not scribing the engine access panel into the back glaciss. The funny thing is the remembered the hinges for the access door!
 Then comes the turret details. The turret hatch is huge you'll easily be able to see into the turret if you leave it open. Fortunately Dragon has included the gun breach and a seat, but more detail will have to be added.
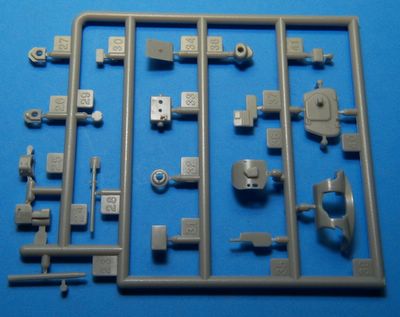
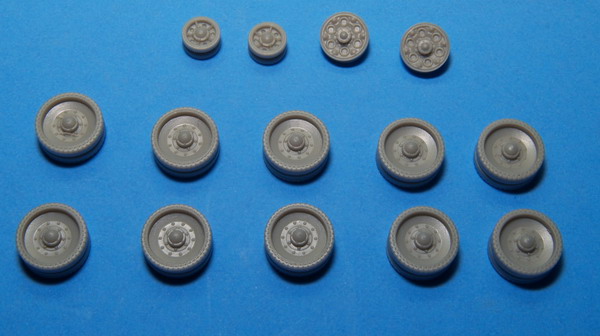
The wheels use Dragon's new "slide mold" technology that is suppose to allow for greater detail, and ease assembly. It works good for early T-34, there aren't so many holes that have to be drilled out, but it will be a major headache on their T-34/76 model 1942 with all those holes in the main wheels.  The tracks are my least favorite part of the kit. They are nicely detailed soft vinyl, but extremely wavy along their length..to the point that they are unusable. I haven't decided yet whether to steal the "DS" tracks from the T-34 model 1941, or get some of the new OKB photo-etch initial production tracks.
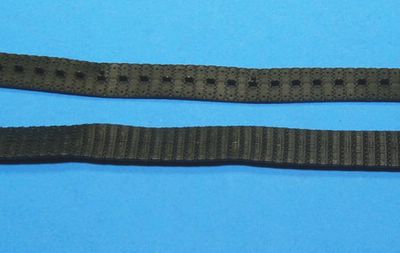 Dragon also provides the option of using a photo-etch intake screens, and metal cables. I've heard that the screen doesn't fit, which would be a shame, but it might only be a problem on their T-34 model 1942 kits.
 Finally you get a very nice decal sheet. I think it's of dubious value for this kit, since I have yet to find a picture of a T-34 model 1940 with any marking on it, but will be useful with later model T-34's.
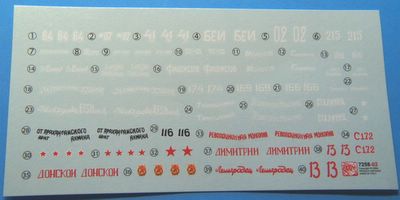 That's it, but there will be many more to follow.