Sunday, January 30, 2005

One more Picture and reference book

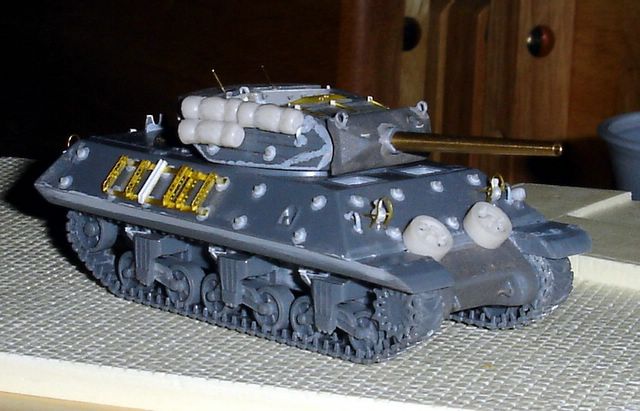
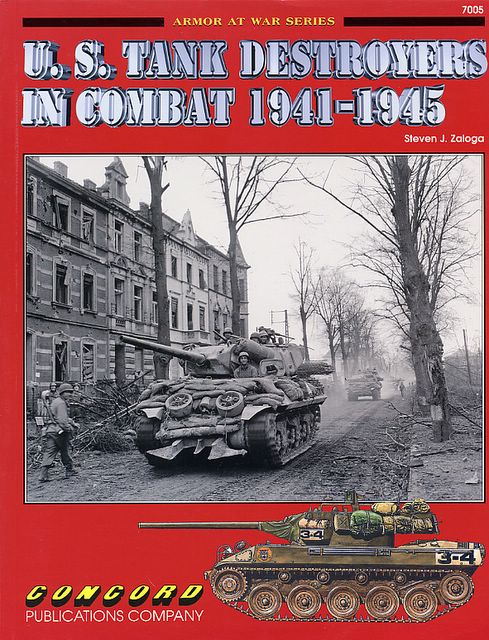
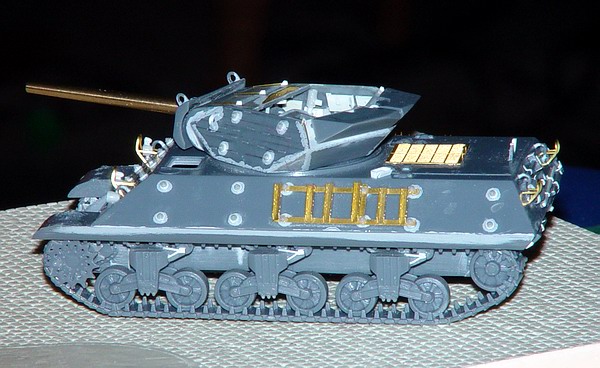
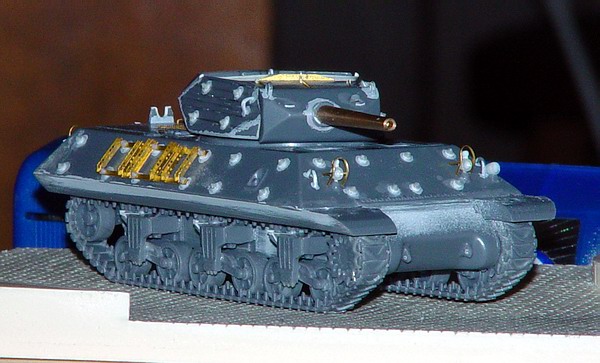
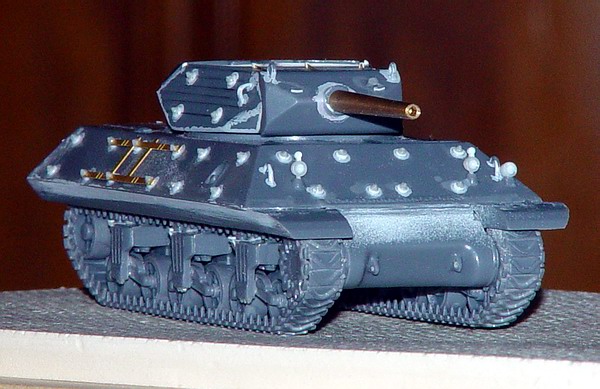
Another weekend, and not much progrees. Well that's not really true, but you can't see too much of the work I've done from the picture! But first about the book, "U.S. Tank Destroyers in Combat 1941-1945." I forgot all about the book, but fortunately discovered it while browsing through my library. The M-10 on the cover is providing inspiration for my M10. The picture is of a late M10 with the duckbilled counter-weights, but it has a Cullen hedgerow cutter, and sandbag arrangement that is interesting.

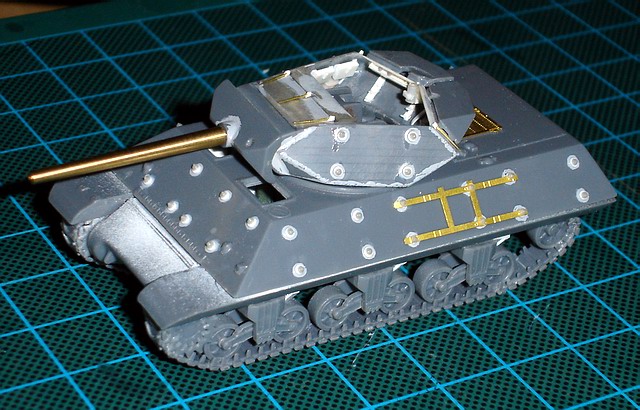
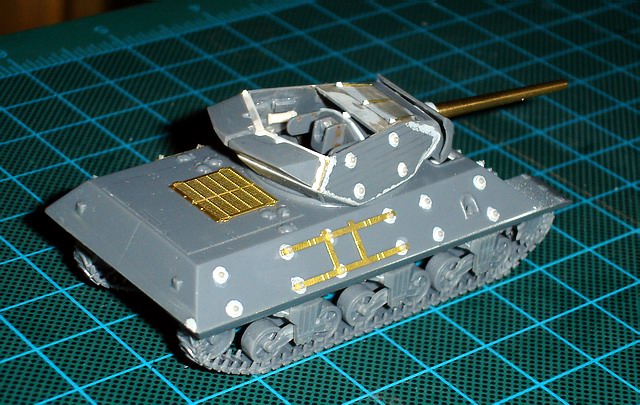
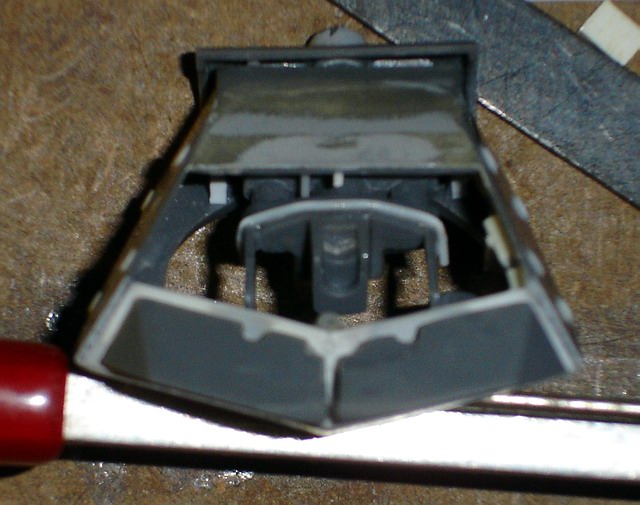
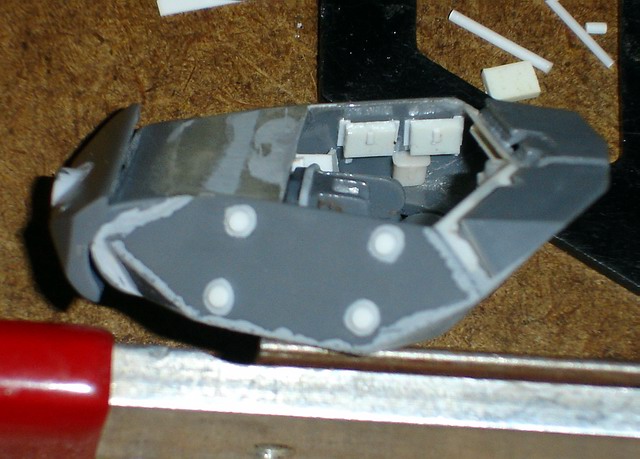
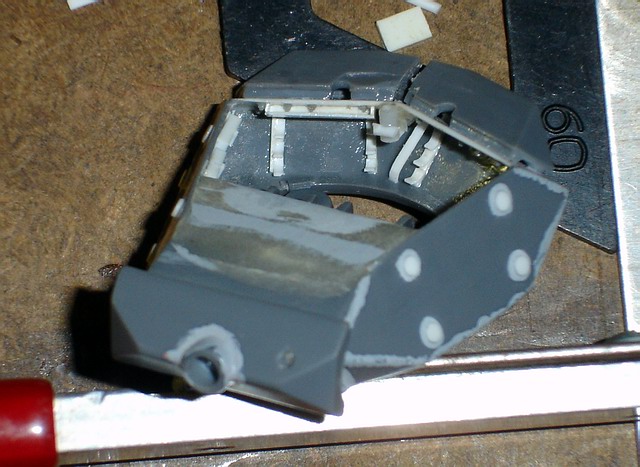
I added are the missing fire extinguisher box on the engine deck. I put two coats of cast-a-coat on the gun mantlet, transmission, and counter-weights. I also "borrowed" an idea from Steve Zaloga, and used my Dremel Mini-mite to add two holes to the end of each track end connector, and a groove in all the guide horns.


Tuesday, January 25, 2005

The joy of photo-etch

I've gotten a fair amount done the last two days! I used some stretched sprue to replace the tie-downs I sanded off when fixing the warped turret. Most of this detail will be buried under tarps and bags of course, but I'll know that it's their. Gluing on the PE went better than I thought it would, although it took forever.


Sunday, January 23, 2005

D@1#mn headlights

I spent most of my weekend working on the headlights and siren that are glued to the front glacis. I started with the kit parts, and hollowed the lens out of the headlights, using a burr in my Dremel Minimite, while the parts were still on the sprue. I clipped the first light off, and lost the tiny part when it popped out of the tweezers I was using to hold it with. This happens to me far too often, and after several fruitless minutes crawling on the floor with a flashlight, I decided it was time to scratch build the headlight. Well I had to do both so they would match, and naturally lost several of the scratch built headlights, progressively improving the part. I think I ended up loosing three headlights. Not to be out done, I also scratch built the siren. Technically I built four of them, I lost three.


Friday, January 21, 2005

The Future

I've been putting some thought into what to do with my blog, once the M-10 is finished. Well I guess I can find something to blog about. Anybody know where I can get a copy of Hunnicutt's Sherman at a reasonable price? ;-)


Tool time!

I have got as much done as I hoped this week, but I've had a chest cold, and haven't felt like modeling too much. I did manage to work on the tools. Out of the box they're a little "chunky," but nothing a little time with a pin vise and #11 blade won't take care of. I still need to add the headlights, taillights, light guards, and various other bits and pieces before it's ready to paint.

Saturday, January 15, 2005

Just a little peak before I put the lid on.

I didn't do too much painting to the interior since most of it will be hidden. I did try my hand at making some decals with my Alps printer. I made some placards, more to test out the possibilities than anything else. You can see a couple of them next to the divers station, and another on the rear bulkhead. I also labeled the periscope boxes that are on top of the gearbox, again, just to test out what I could do for future projects.


Sunday, January 09, 2005

Tiny progress.

Sorry for another blurry picture! I didn't get as much done as I hoped this weekend. I did scratch together some evergreen strip and rod to make a new artillery sight, and added turret and mantlet lift rings. I also added the cover for the gunners sight, along with the lip below the opening. I was toying with the idea of adding cast numbers to the mantlet, but that would probably be over-kill!


Sunday, January 02, 2005

Slowly coming along

I was able to put a few more hours into the M10 this weekend. The gun barrel is just inserted into the manlet for the moment. I glued on all the bolts to the spacers, and put on some more of the PE parts. Hopefully I'll be able to get some more work done on it this week.


Saturday, January 01, 2005

A little more work to the turret

Sorry for the poor quality of some of the pictures, but this thing is tiny! I've supplemented the kit supplied turret parts with bits of evergreen plastic. It's not quite finished yet, but it's almost there. I'm spending so much time on the interior, because I plan to have the tank parked on a village street with the crew at rest. So an open empty turret wouldn't look very interesting. I've added a few more storage boxes, scratch built the ready ammo racks and ammo box, added some more bolts to the inside of the turret for the counter weights, and built the mount for the artillery sight.