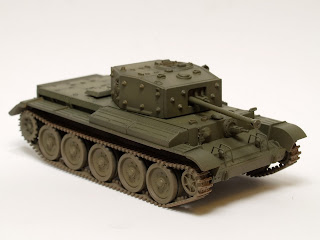


After that dried, I sprayed the lower half of the model and running gear with flat earth (XF-52) and JSDF brown (XF-72). I followed up on the upper surfaces by progressively adding more dark yellow (XF-60) to the olive green mixture (50-50 XF-58&62). I tried using the pre-shading technique by filling the center of panels with the lighter mix, and leaving the darker under coat visible along the edges.


Nest up will be a gloss coat to add the kit decals, followed by a sealer coat, then let the weathering begin.

No comments:
Post a Comment