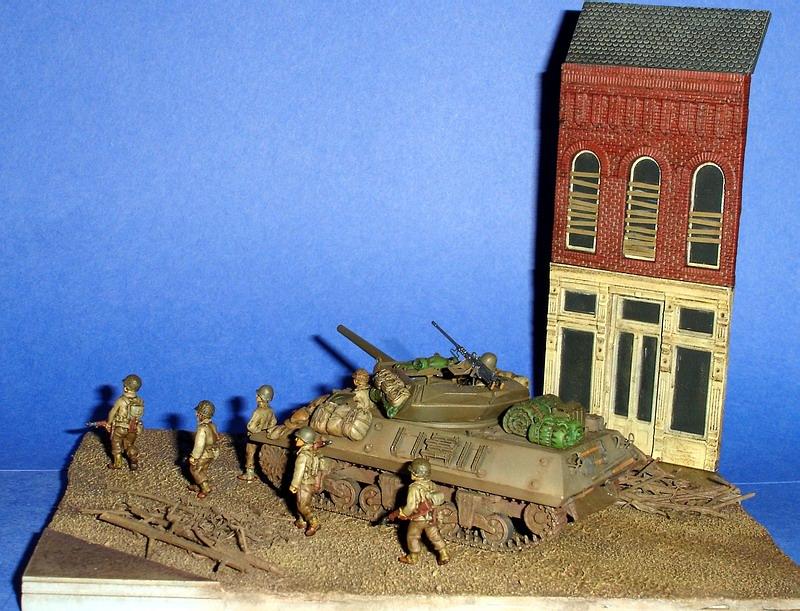
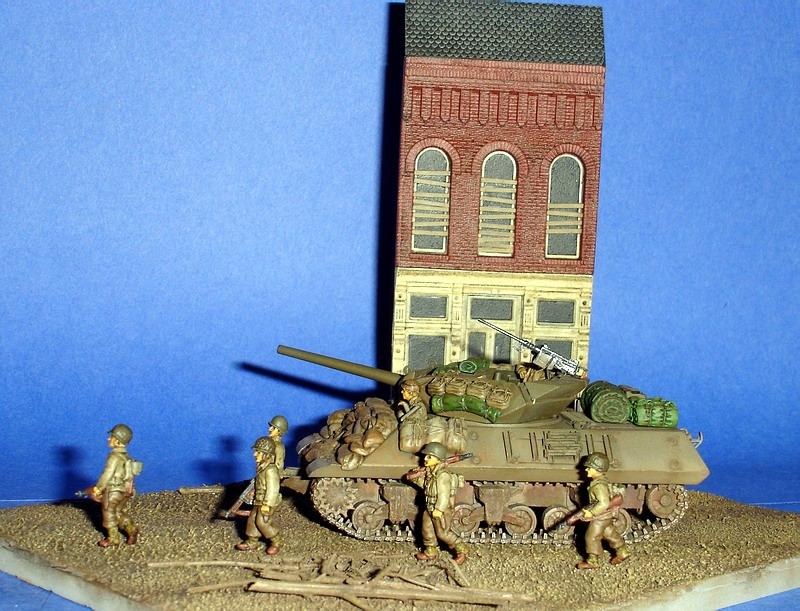
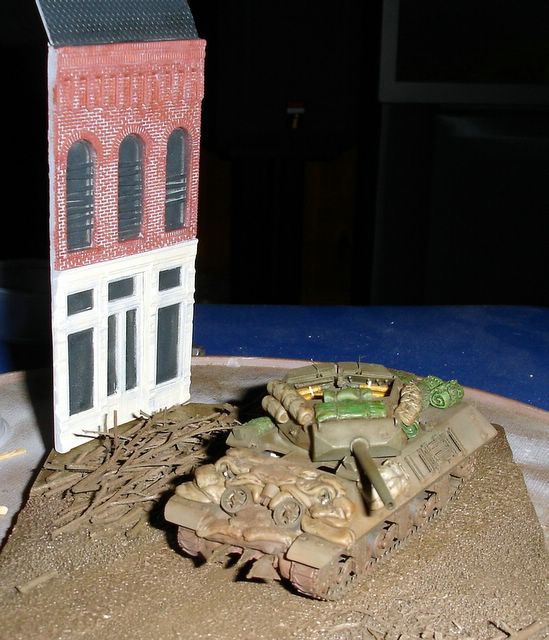
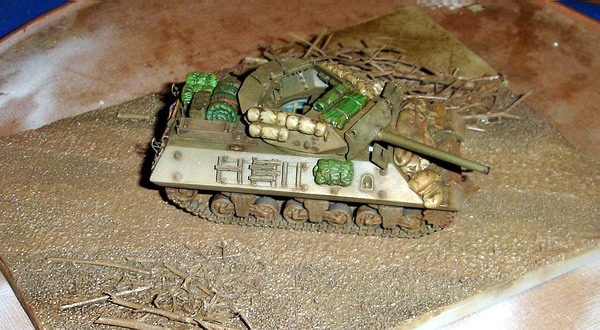
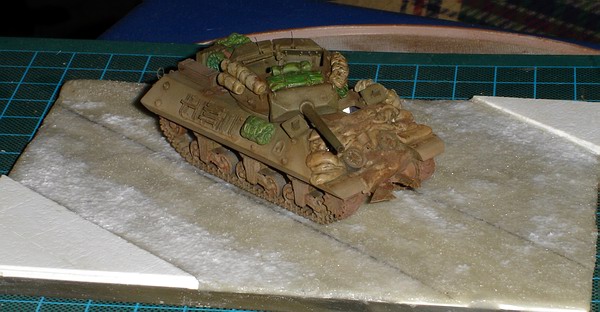
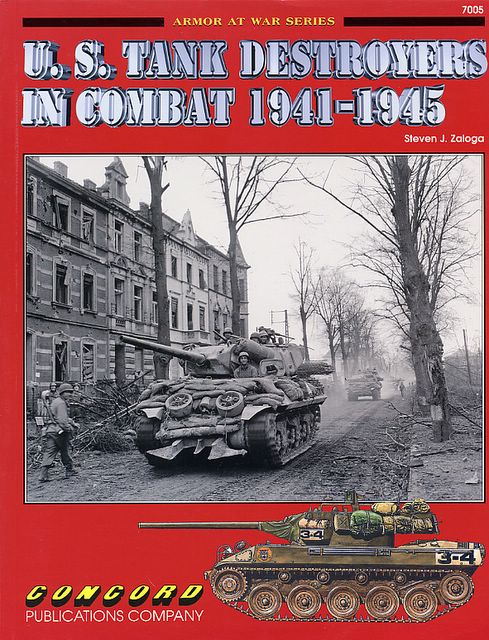
First an M10 update. I won "Best of Show" at my local IPMS's monthly contest. It's just a small contest, and club members vote on it, rather than IPMS or AMPS style judging, but it was nice to see how much others liked it.
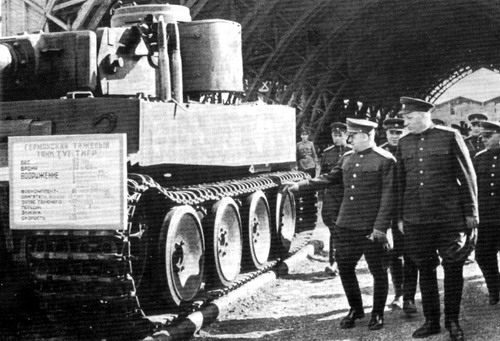
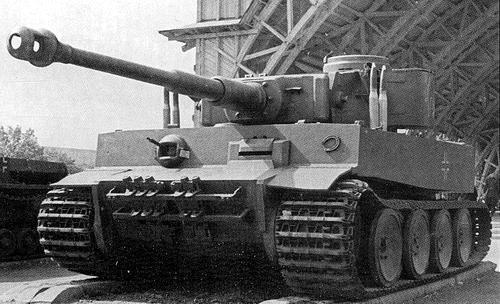
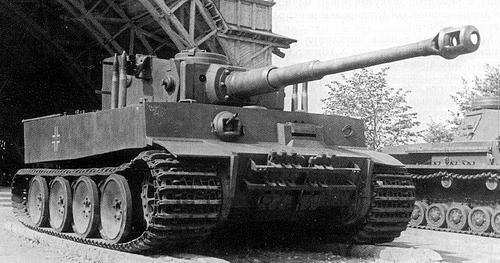
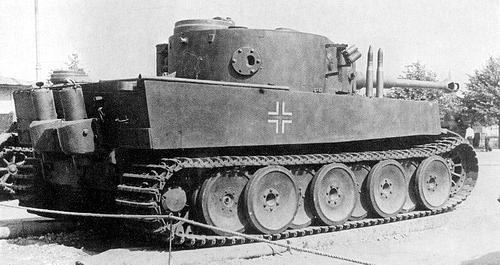
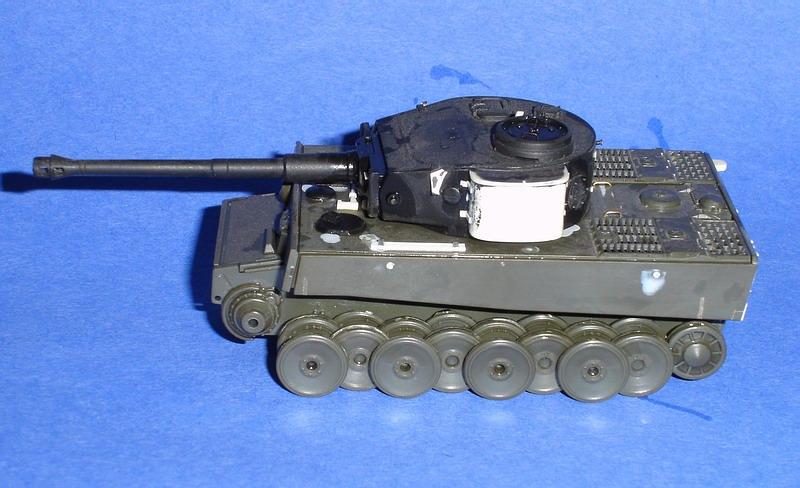
Now on to the Tiger I. I don't have any pictures to post at the moment. I stumbled across another picture of Tiger 100 taken while it was on display in Moscow. This picture is shot from above and behind and clearly shows that engine deck and top of the turret. I based my top of Tiger 100 on a Tom Jentz's Tiger I Modification list as wheel as a friends copy of Germany's Tiger Tanks D.W. to Tiger I: Design, Production & Modifications. Well, I got the engine deck wrong, and need to re-do it. The picture clearly shows that the opening for the air cleaners is there, and not sealed over. You can also see that there are FOD screens on the air intakes. I've gone ahead and order the book "the pictue" came from (along with several other books). Hopefully it won't take to long to ship from Avia Press in Russia. There are a lot of other details I want to check out, hopefully the pictures in the book are sharper than the ones on their web site. I've also refered to David Byrden's excellent Tiger I site.
I've also order a care package from Jadar in Poland. Among other things I've ordered the Aber 8,8cm KwK 36 gun and the Part Tiger I Ausf.H photo etch set, along with a few other thing. ;)
Here's a list of modifications I've come up with to build an "accurate" Tiger 100, after it was captured by the Russians.
The Turret
- Assymetrical Turret - I'm seriously debating this.
- Storage bin on right side of turret.
- Straps for bin lost from the right side of the turret.
- Smoke mortars - three on the left, two on the right.
- Lug and four pads for missing rear turret basket.
- Armored air intake on top of turret.
- Welded prop for the Commander's hatch.
- Sun shade over gunners sight.
- Elephant and ",100" decal.
- Early style gunner / loaders hatch
The Chassis- Mirrored Tracks - I might pass on this one, but I have sanded off the ice cleats.
- sand off all tools and tool mounts.
- Early style front fenders.
- Spare track rack on front of tank.
- Wing nuts on hull machine gun mount (for water-proof cover).
- Drivers side periscope holes above the armored site (partially covered by armoured site).
- Horse shoe.
- Small elephant emblem on upper right corner of front glaciss.
- Headlight brackets and wire fittings
- German crosses on chassis sides.
- Spare antenna holder along top right rear of chassis.
- Prominent weld marks on the chassis sides.
- Early style exhausts eith flapper vlaves.
- Large antenna mount on right rear glaciss.
- Rear fender brackets.
- Add tie-down fittings for missing tools to the rear glaciss (the locations are different from the molded on tools).
- Air intake screens.
It also looks like there are some brackets for the missing tow cables, and there are a few other details I hope to be able to see ones the book arrives from Avia Press. I plan on going to the IPMS-USA Region II convention in Hagerstown, MD this weekend. So I might not be able to do another update till next week. So that's all for now folks; I hope to have some more pictures up soon.
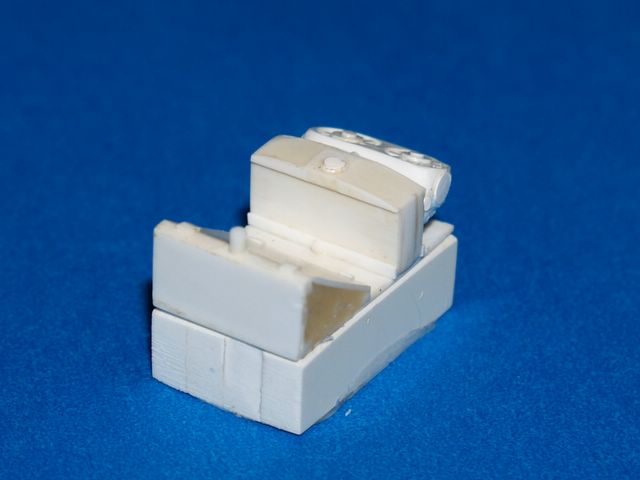
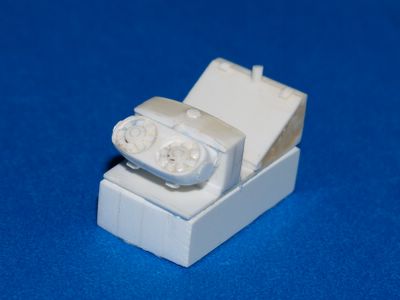
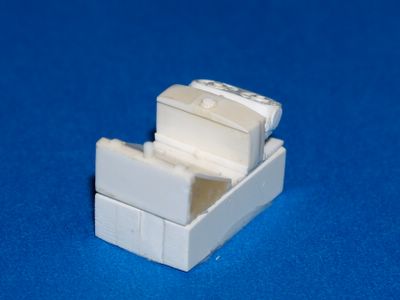
Here are some masters that I've made for the Tigers radiators, and fuel tanks. I've made a rubber mold, and cast the parts. I don't plan on opening up the access panels on the engine deck, but there would be a gaping black hole into thase grates, and the tank would just look incomplete if they weren't there. Anyway, I plan on doing another Tiger, that's in the middle of an engine change, so the detail will come in handy.
I'm also toying with making my own photo-etched parts, and have started making artwork.
Here's the artwork for the turret, I manipulated a picture in photoshop to get the mamoth artwork. I still need to make the number "100," and the German crosses. Fortunately I have an Alps printer, and can print my own white decals.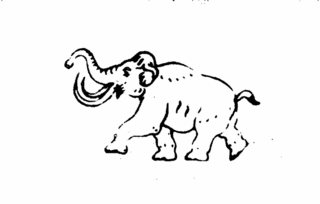
Sorry for not posting in so long, but we went on another camping trip, and I got busy with other summer things. Consequently I haven't spent much time modeling. My trusty old Sony F707 has started to get a little flaky so I decided it was time to get a new camera. I wanted to go with a digital SLR, and I read that the Olympus E-300 Evolt had an adapter that would let you use old OM mount Zuiko lenses. Well I'm an old Olympus OM-2 user, and have a bunch of OM lenses, so I decided to go with the Evolt.
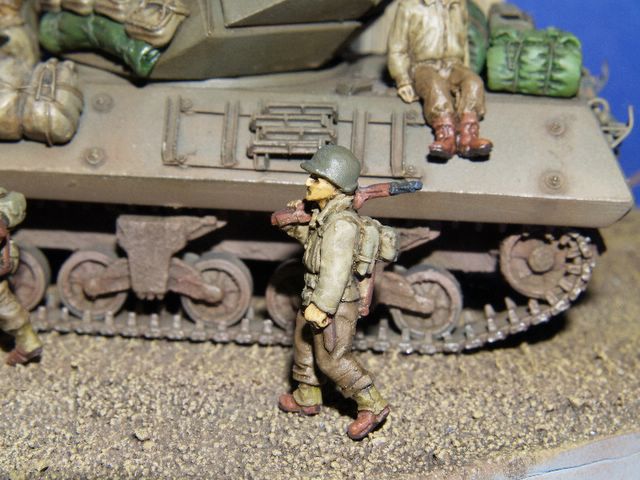
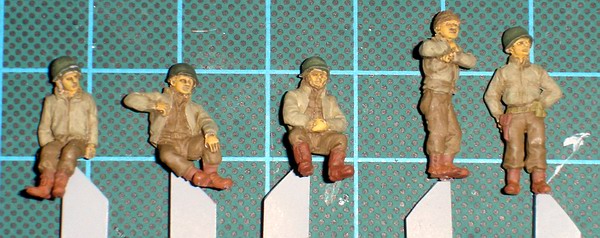
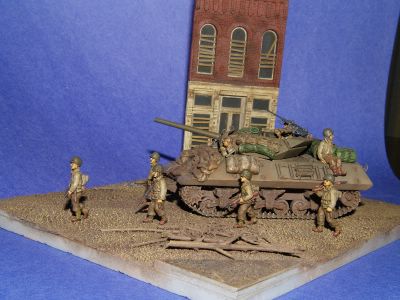
I've done a little more tweaking to the M10 diorama base, adding some boards and rubble after a suggestion from a kind soul on Missing-Lynx. The pictures were taken with the E-300. A digital SLR is much more complicated to use! The close-up of the soldier was taken with a 5+ diopter close-up lense. I've also updated my P-40 kit for my clubs build the same kit contest. So go take a look if your interested in things other than armor.

Well I've gone and done it. I want my Braile Scale Blog to be small scale armor only, so I've started another blog. Manicmodeler currently has my P-40 build.
Just a few pictures to show I haven't abandoned the old M-10. It seems that life has gotten in the way of modeling. The warm weather has arrived, and most of my spare time has been devoted to things other than modeling (camping, yard work, spring cleaning, you name it).
I've added the 76mm rounds to the ready racks, and I've continued to work on the figures, and base. I've added more texture to the base to simulate track marks, and just need a little dry brushing to bring them out.
I've also been working on an airplane for my local IPMS chapters "build the same kit" event. We chose the Academy 1/72 scale P-40E/M/N. I'm building a Kiwi P-40N. I've never successfully completed a BTSK project, so this should be interesting. Maybe I'll start an airplane blog!

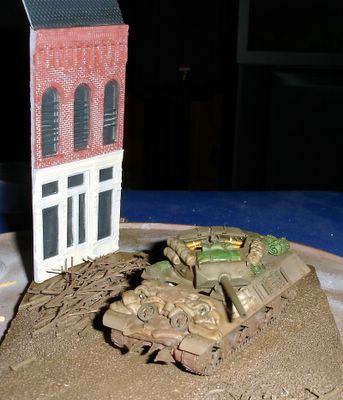
 Well I've gotten a little more work done on the M10. The base is pretty much done, except for some dry brushing. I'm working on painting the building now. I wasn't very happy with my paint job on the figures either, so I dumped all 9 of them in some Floquil Disol, and I had some nice shiny figures again. I picked up an Osprey book on US Uniforms, and my color choices are looking much better now.

Previously, I mentioned that I was going to do a different base for the M10. Well I decided to use 1/4" Plexiglas as the base. It's inert and won't warp or react to the various materials that I plan to use. So I ran down to Home Depot, and picked up a 24"x28" piece, but how to cut it? A quick google search gave me some answers. The only trouble, I don't own a table saw. One guy said you can score it 10 times, then snap it like glass. Well about 60 scores later and lots of pressure, I finally get it to snap!
Now add some evergreen, Apoxie Sculpt and Liquitex Texture gel's and it's finally starting to shape up. I just need to a little more debris, and add a Tiger Productions building and it will be ready for paint.
And the look I'm shooting for